When working with images in Adobe Illustrator it can sometimes be a little tricky to navigate image editing settings, especially since Illustrator is a vector graphic program and not Photoshop.
Even though Adobe Illustrator is a vector program we can still do basic edits for images, especially changing the color settings of an image.
My name is Aly, I have over five years of experience working as a graphic designer and I use Adobe Illustrator almost every day.
In this tutorial, I will be showing you how to turn an image into black and white in Adobe Illustrator. I’ll go over three common ways including changing the image to Greyscale, adjusting Color Balance, and changing the Saturation.
Contents
Method 1: Use Greyscale
By using greyscaling, we can achieve a black-and-white image. Follow the steps below.
Step 1: Open or add an image to Adobe Illustrator.

You should see a cross on your image bounding box when the image is selected, this means that your image isn’t embedded.

Step 2: From the menu at the top of your screen, select Embed or you can also find the Embed option from the Properties > Quick Actions panel. If your image has already been embedded, this button will say Unembed, in which case nothing further has to be done.

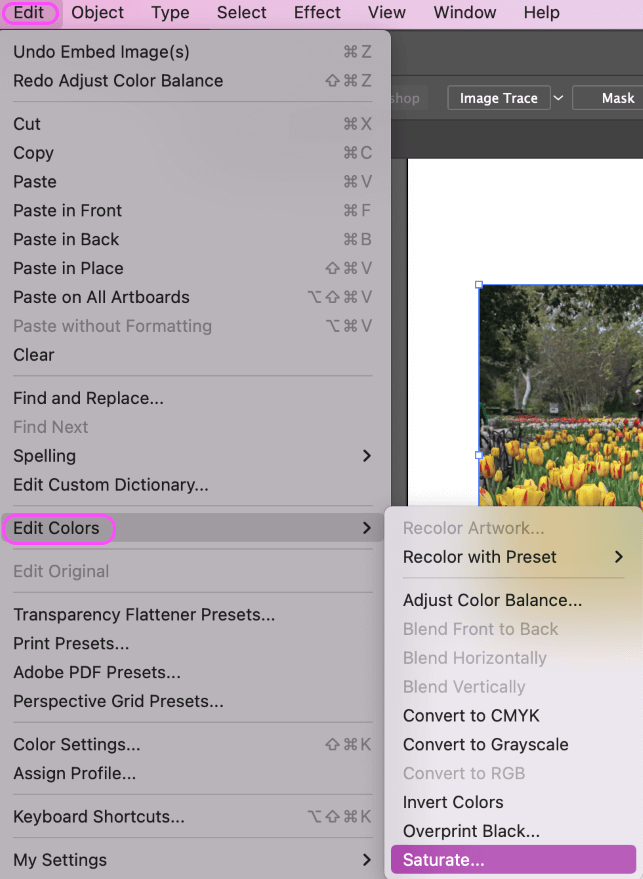
Step 3: Go to the overhead menu Edit > Edit Colors > Convert to Grayscale. This will change your image’s hues to various shades of black and white.

You should now have a black-and-white image!

Method 2: Changing the Color Balance
Follow the steps below to create a black-and-white image by changing the color balance.
Step 1: Select your image, and embed your image exactly like in the method above.

Step 2: Go to the overhead menu and choose Edit > Edit Colors > Change Color Balance.

You should see a menu with the title Adjust Colors appear on your screen.
Step 3: Click the Convert button after selecting Grayscale from the Color Mode dropdown option.

You can move the slider to adjust the amount of black and white that you want on your image. Make sure you have checked the Preview option so you can see what the image looks like while adjusting. Click OK when you’re done with the settings.
Method 3: Desaturation
Follow these few simple steps to desaturate your image to make it black and white.
Step 1: Place your image and embed it like the above steps.
Step 2: Choose Edit > Edit Colors > Saturate from the toolbar at the top of the screen.

The Saturate window will appear. Move the slider all the way to the left to desaturate your image.
This method works with high-intensity color photos, but sometimes it will not work properly if Illustrator cannot detect any saturable colors so keep that in mind.

Final Thoughts
Now that you know multiple methods to change your image to black and white you can now adjust your images quickly to black and white when needed. My favorite method to do this is the first method, converting a color image to greyscale since it’s very simple and quick to do.
Any questions about making an image black and white in Adobe Illustrator? Leave a comment and let me know.
