Among the many features found in Adobe Illustrator, the ability to resize images is incredibly useful for designers and can be achieved by following a few simple steps.
Whether you are a graphic designer, web developer, or simply an enthusiast looking to enhance your digital artwork, understanding how to resize images in Adobe Illustrator is essential. As you learn how to change image size, you will be able to maintain the quality of your work.
In this article, we will provide a detailed step-by-step guide on how to resize an image in Adobe Illustrator and explain why this skill is valuable to possess.
Are you ready to learn how? Let’s get to it!
Contents
Key Takeaways
- Adobe Illustrator allows users to resize images within their projects by either using the sliding anchor points or typing dimensions directly for the image.
- If you hold down the Shift key on your keyboard while moving the anchor points to resize an image, it will maintain the aspect ratio of your image so it will not get distorted.
Why Resize an Image in Adobe Illustrator?
There are several compelling reasons why resizing images in Adobe Illustrator can be advantageous:
Maintain Image Quality: Unlike raster-based programs, Illustrator operates using vectors, which means you can resize images without losing quality. This is particularly useful when working with logos, icons, or illustrations that need to be scaled up or down without compromising their sharpness- especially for business purposes.
Flexibility for Various Outputs: Resizing images in Illustrator allows you to adapt your artwork to different mediums, such as print or digital platforms. You can easily resize images for posters, banners, business cards, website graphics, or social media posts, ensuring your visuals are optimized for each specific purpose.
Efficient Workflow: We know that Adobe Illustrator offers comprehensive tools for editing and manipulating images. By resizing images within Illustrator, you can streamline your workflow, eliminating the need to switch between multiple software applications, so it’s a win-win!
How to Resize an Image in Adobe Illustrator
I can’t emphasize this enough, but the ability to resize images in Illustrator will enhance your creative flexibility and streamline your workflow. With practice, you will become adept at resizing images and unlocking the full potential of Adobe Illustrator’s image manipulation capabilities.
Here are the steps that you can follow to resize an image in Adobe Illustrator:
Step 1: Open Adobe Illustrator on your computer and either create a new document or open an existing one where you want to resize an image.
Step 2: Go to File > Place to import the image onto your canvas. You also have the option to simply drag and drop the image file into the Illustrator workspace from your computer.

Step 3: Next you will want to click on the image to select it. Users will know that the image is enclosed within a bounding box with anchor points.

Step 4: To resize the image proportionally (which means maintaining its aspect ratio), hold the Shift key on your keyboard, click, and drag any of the corner anchor points inward or outward to resize the image. Release the mouse button when you achieve the desired size.
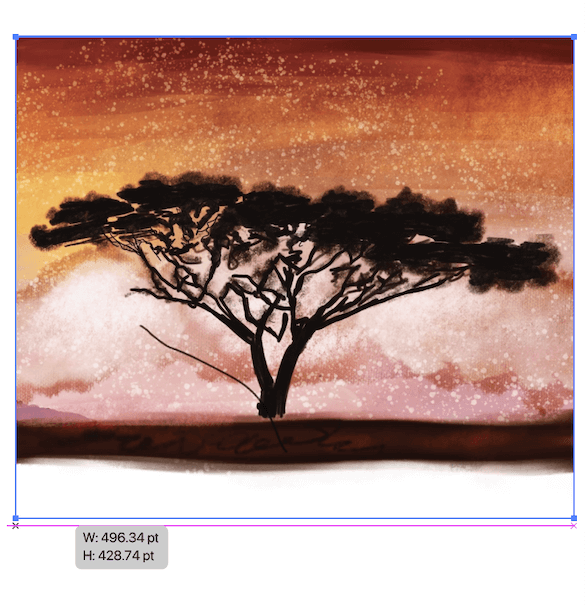
You will notice that while you are doing this, the current dimensions of the image pop up in a small box next to one of the anchor points and they will change as you are moving that anchor point and resizing the image.
Step 5: To resize the image without maintaining its aspect ratio, click and drag any of the corner anchor points inward or outward. Unlike the previous step, you can release the Shift key to distort the image.

Step 6: If you require precise dimensions for your image, you can also enter specific values in the Width and Height fields found in the Properties panel in the Transform section. (This panel will only pop up on the side of your workspace when you click on the image that you want to resize.)

Type in the specific dimensions for your image and then press the Enter key on your keyboard or click outside the field to apply the changes.
Step 7: When resizing an image, you might also want to scale the strokes and effects applied to it to maintain the visual balance.

To do this, navigate to the Preferences tab under the main Illustrator tab at the top of your screen. Then click on General. Within that section, make sure to check the Scale Strokes & Effects option. When you do this, it will ensure that when you resize the image, the strokes, and effects will scale accordingly.

Step 8: Once you have resized the image to your satisfaction, save your Illustrator document. If you need to use the resized image in other software or platforms, go to File then Export, and choose your desired file format to save a copy of the resized image.
Final Thoughts
Mastering the art of resizing images in Adobe Illustrator is a valuable skill for anyone working with digital graphics. The ability to resize images in Illustrator will enhance your creative flexibility and streamline your workflow.
We would love to hear from you! Do you have any tips on resizing images in Adobe Illustrator? Please comment down below with any tricks to using this important feature or feel free to ask additional questions that you might still have about this topic!